How to Add a Watermark to Photos - Text or Logo, One Image or Hundreds
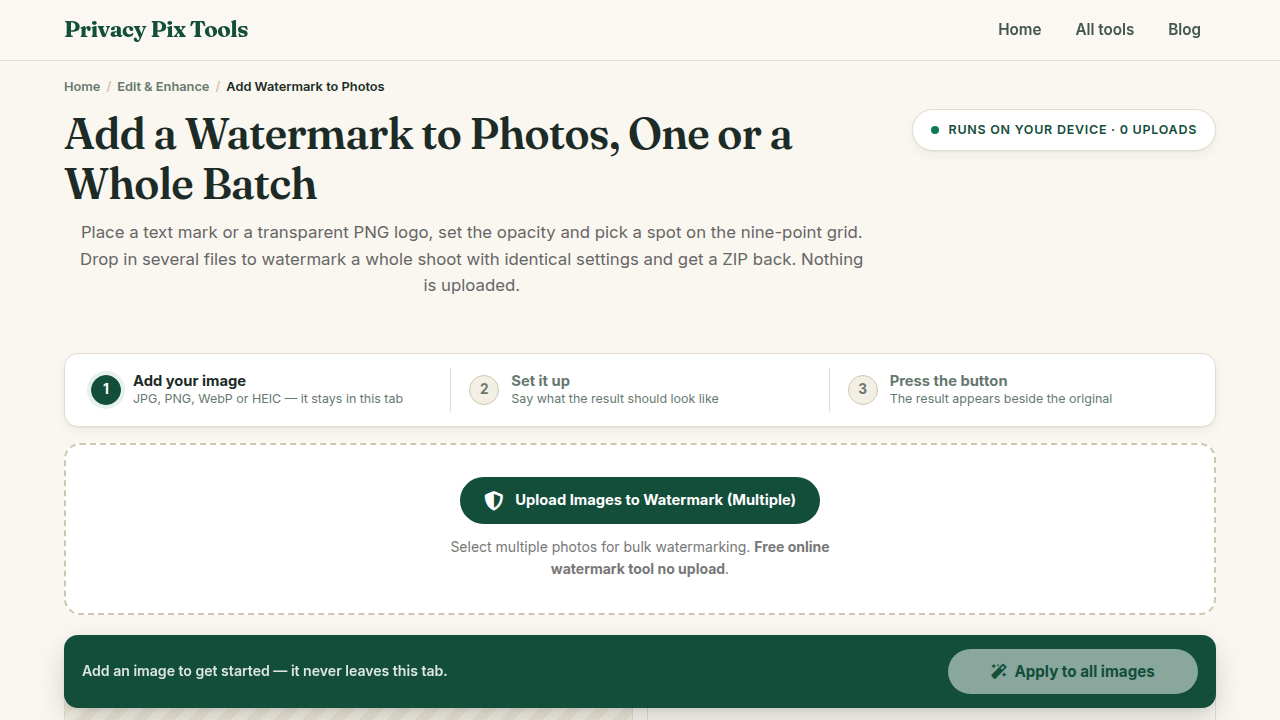
To add a watermark to photos, open the free Watermark Tool, upload one or many images, type your watermark text (or switch to the Logo tab and upload a PNG), set position and opacity, and download the stamped photos - as a ZIP if you processed a batch. For freeform photo compositing with precision scaling and sliders, use the Image Layering & Overlay Tool. Everything renders locally; your originals are never uploaded.
A watermark is the cheapest insurance a photographer, artist, or seller can buy: it attributes the work, deters casual theft, and keeps your name attached as an image travels. The trick is applying it consistently across a whole shoot without paying for software - and without pushing your unreleased work through someone's server.
This guide covers both text and logo watermarks, smart placement using the 9-position grid, opacity that protects without ruining the photo, and the bulk workflow that stamps hundreds of images in one pass.
In this guide
What You Need Before You Start
Your photos, and either a line of text (name, brand, URL, © notice) or a logo file - ideally a transparent PNG so only the mark itself overlays the image. Create one from any logo with the Background Remover first if needed.
Privacy note: Watermarks are rendered onto a canvas in your browser. Unreleased client work and product shots stay on your machine until you choose to publish them - watermarked.
How to Watermark Photos in 4 Steps
Step 1Upload one photo - or your whole shoot
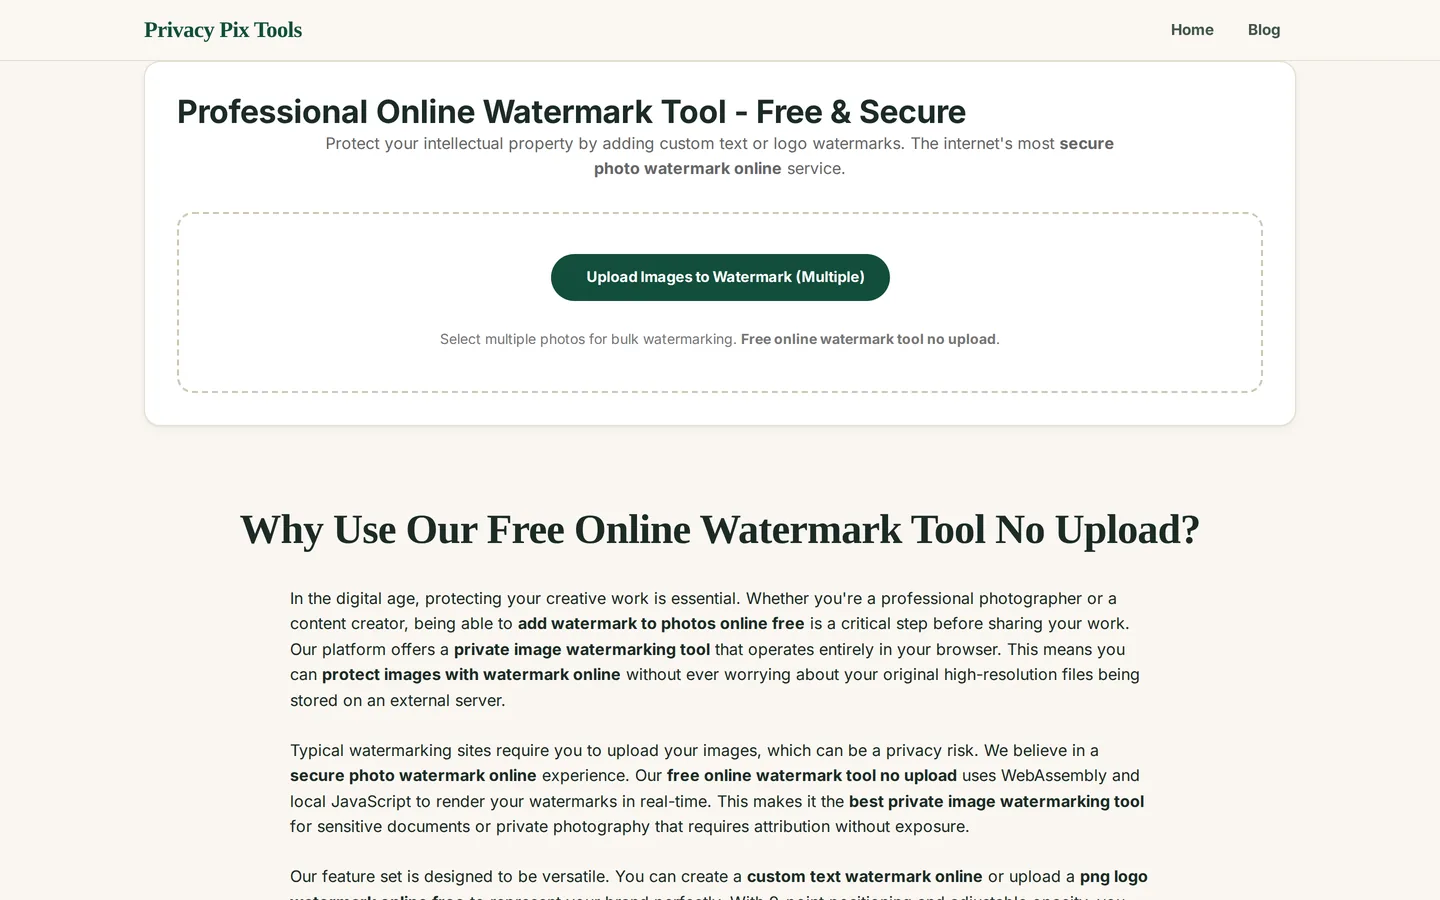
Open the Professional Online Watermark Tool and click Upload Images to Watermark (Multiple). The live preview shows the first image; every image in the queue gets the same settings.
Step 2Choose Text or Logo and design your mark
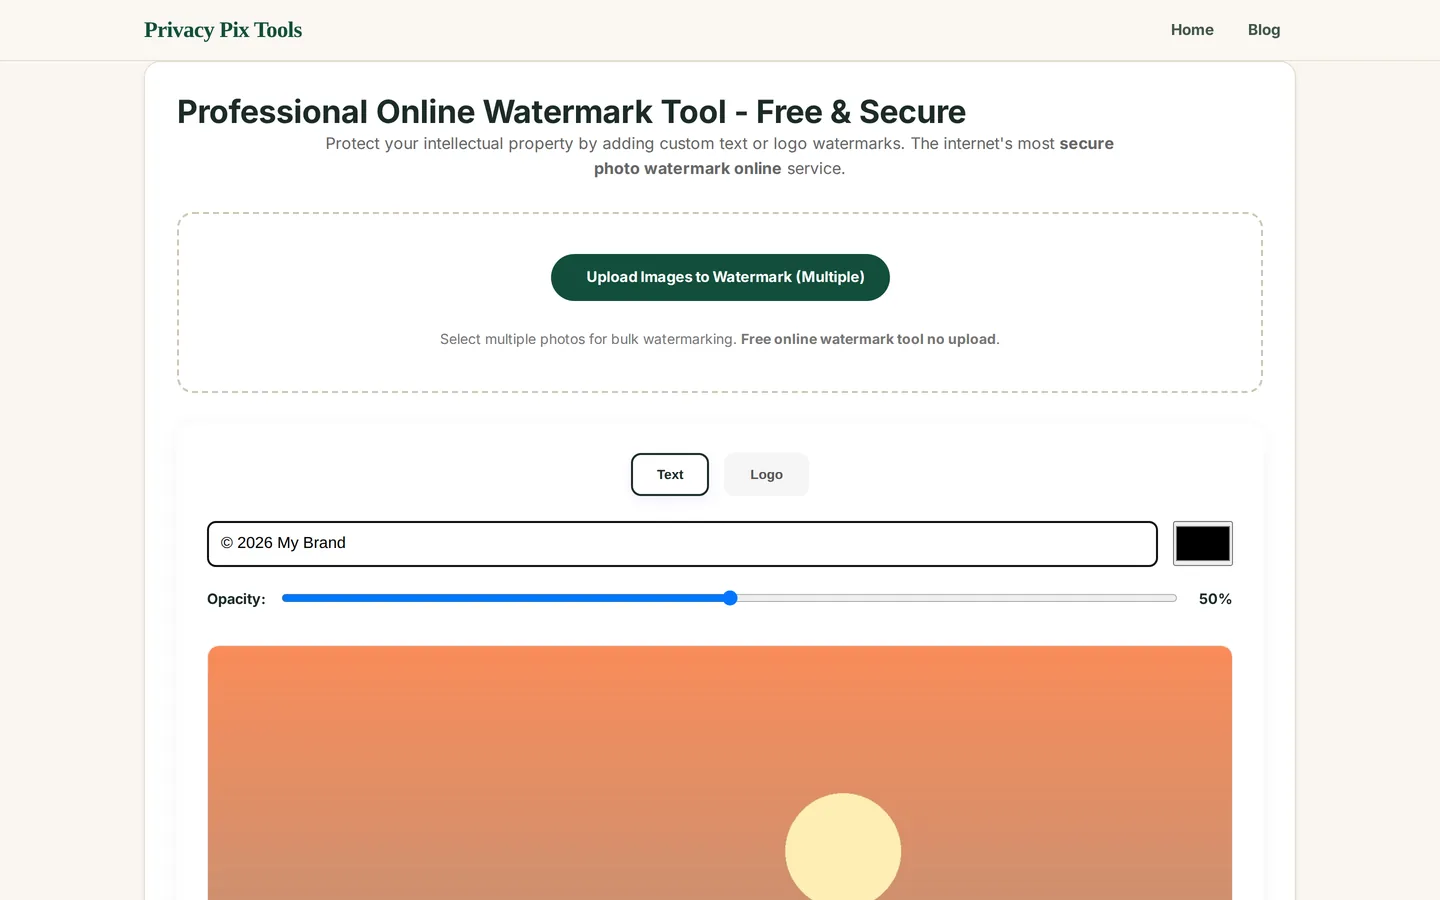
In the Text tab, type your watermark - e.g. © 2026 My Brand - and pick a color with the swatch. For image marks, switch to the Logo tab and upload your transparent PNG. The live canvas below shows exactly how the mark sits on your photo.
Step 3Set opacity and position
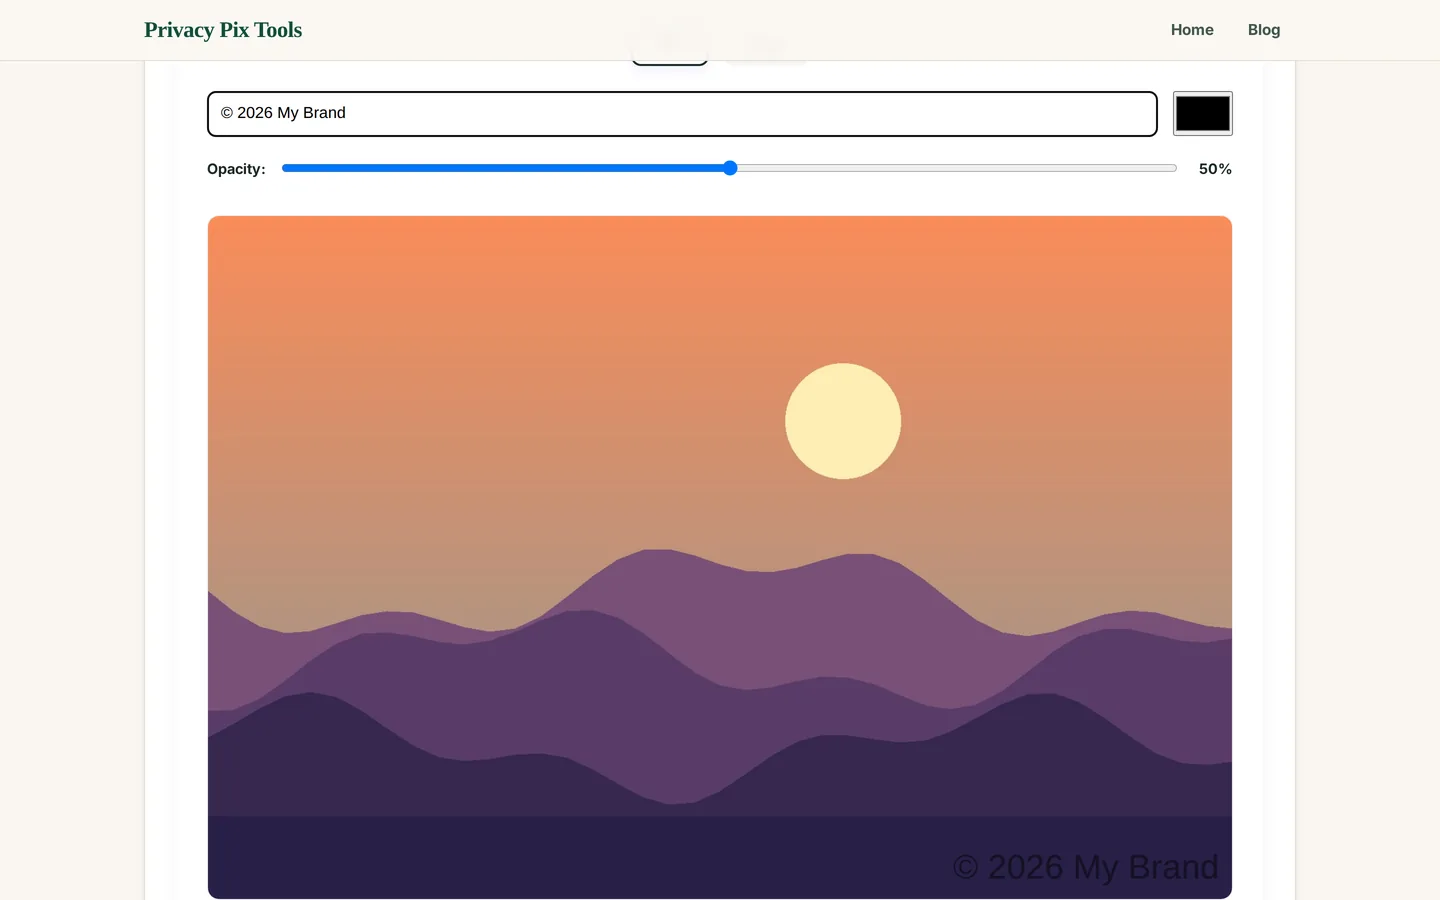
Drag the Opacity slider - 40-60% is the sweet spot that stays visible without wrecking the photo. Then choose placement on the 9-position grid (corners, edges, center). Bottom-right is the classic; center at low opacity is the hardest to crop out.
Step 4Apply and download
For a single photo, apply it and use the download button under the stamped result. For a batch, click Apply Watermark to All Images - a progress bar runs through the queue and every stamped photo lands in a results grid, downloadable individually or together as one ZIP.
Watermark your photos now
Open the Watermark ToolPro Tips for Better Results
- Opacity beats size: A large mark at 40% opacity protects better and looks more professional than a small opaque stamp. It covers more area while letting the photo read through.
- Corners get cropped: A corner watermark disappears with one crop. For images likely to be re-shared, place the mark at center or across a visually busy area.
- Use a transparent PNG logo: A logo with a white box around it screams amateur. Remove the background first so only the mark overlays the photo.
- Match the mark to the image: Light text vanishes on bright skies; dark text sinks into shadows. Use the color picker per batch - or pick a mid-gray that survives both.
- Watermark the copy, keep the master: Always archive unwatermarked originals. Clients buy clean files; you deliver watermarked previews.
Why This Stays 100% Private
The photos you watermark are usually the ones that are not public yet - client previews, unreleased products, portfolio work. Uploading them to a watermarking site inverts your interest: the service holds your clean originals while you get back the protected copies. This tool renders every mark with the Canvas API on your device, so the unmarked originals exist nowhere but your own storage.
Unlike most "free" web tools, Privacy Pix Tools has no accounts, no file-size tricks, no watermarks, and no server-side processing. You can even load the page, disconnect from the internet, and the tool keeps working - proof that your files never leave your device.
Common Use Cases
- Photographer proofs: Stamp a shoot with your studio name at 50% center before sending client galleries.
- Marketplace listings: Deter competitors from lifting your product photos by branding every listing image in bulk.
- Art and design previews: Share work-in-progress publicly while keeping the clean version sellable.
- Real estate and rentals: Keep your agency's name on photos that get re-posted across listing sites.
Frequently Asked Questions
Can I watermark many photos at once?
Yes - upload any number of images, design the mark once, and click Apply Watermark to All Images. The batch downloads as a single ZIP with every file stamped identically.
Text or logo - which is better?
Text is quick and always legible; a logo builds brand recognition. Many professionals combine both: logo in a corner, subtle text across the middle.
What opacity should a watermark be?
40-60% for a visible-but-tasteful mark. Below 30% is easy to remove or ignore; above 70% starts to dominate the photo.
Does watermarking reduce image quality?
The watermark is composited at your image's full resolution and exported at high quality. Aside from the mark itself, the photo is unchanged.
Can someone remove my watermark?
Determined attackers with AI inpainting can attempt it - no watermark is unremovable. Placement over busy detail at meaningful opacity makes removal visibly destructive, which is the practical deterrent.
Are my photos uploaded while watermarking?
No. The entire process - preview, batch, ZIP packaging - happens in your browser. Airplane mode works after page load.
Related Tools & Guides
- Background Remover - make a transparent PNG version of your logo.
- Bulk Image Processing - batch convert, compress, and watermark hundreds of photos.
- How to Compress Images - optimize watermarked files for the web.
- Image Overlay Tool - freeform logo and image compositing.