How to Compress Images Without Losing Quality - Free & In Your Browser
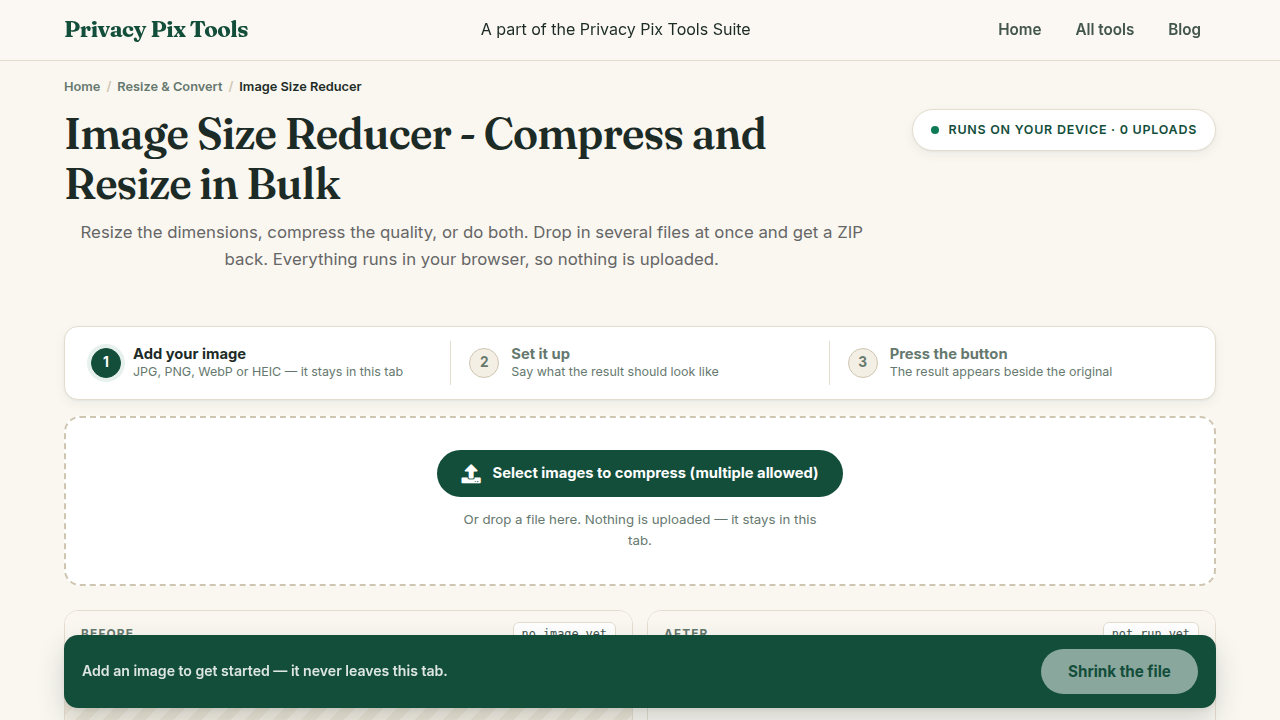
To compress an image without visible quality loss, open the free Image Size Reducer, upload your photo, set the Quality slider to around 80-85%, click Reduce Size, and download the result. A quality setting in that range typically cuts file size by 40-70% while looking identical to the original at normal viewing sizes - and the whole process runs in your browser with no upload.
Oversized images are the number one cause of slow web pages, rejected form uploads, and bloated email attachments. The good news: most photos straight from a phone or camera carry far more data than any screen ever displays, so you can shrink them dramatically before quality visibly suffers. This guide shows exactly how to do it, what the Quality and Resize sliders actually control, and how to batch-compress a whole folder of photos into a ZIP.
Everything happens client-side. Whether you are compressing a passport scan or five hundred product photos, the files stay on your machine.
In this guide
- What you need
- Step 1: Open the Image Size Reducer and add your images
- Step 2: Set the Quality slider
- Step 3: Optionally scale the image down with Resize
- Step 4: Click “Reduce Size” and download
- Pro tips for better results
- Why this stays 100% private
- Common use cases
- Frequently asked questions
- Related tools & guides
What You Need Before You Start
A browser and the images you want to shrink (JPG, PNG, or WebP). It helps to know where the image will be used: a hero image for a website has different needs (bigger, ~85% quality) than a chat avatar (small, ~70% is fine). If you need a specific format instead of a smaller file, use the Format Converter instead.
Privacy note: Compression is performed by the Canvas API inside your browser. Bank statements, ID scans, and private photos are never sent to a server.
How to Compress an Image in 4 Steps
Step 1Open the Image Size Reducer and add your images
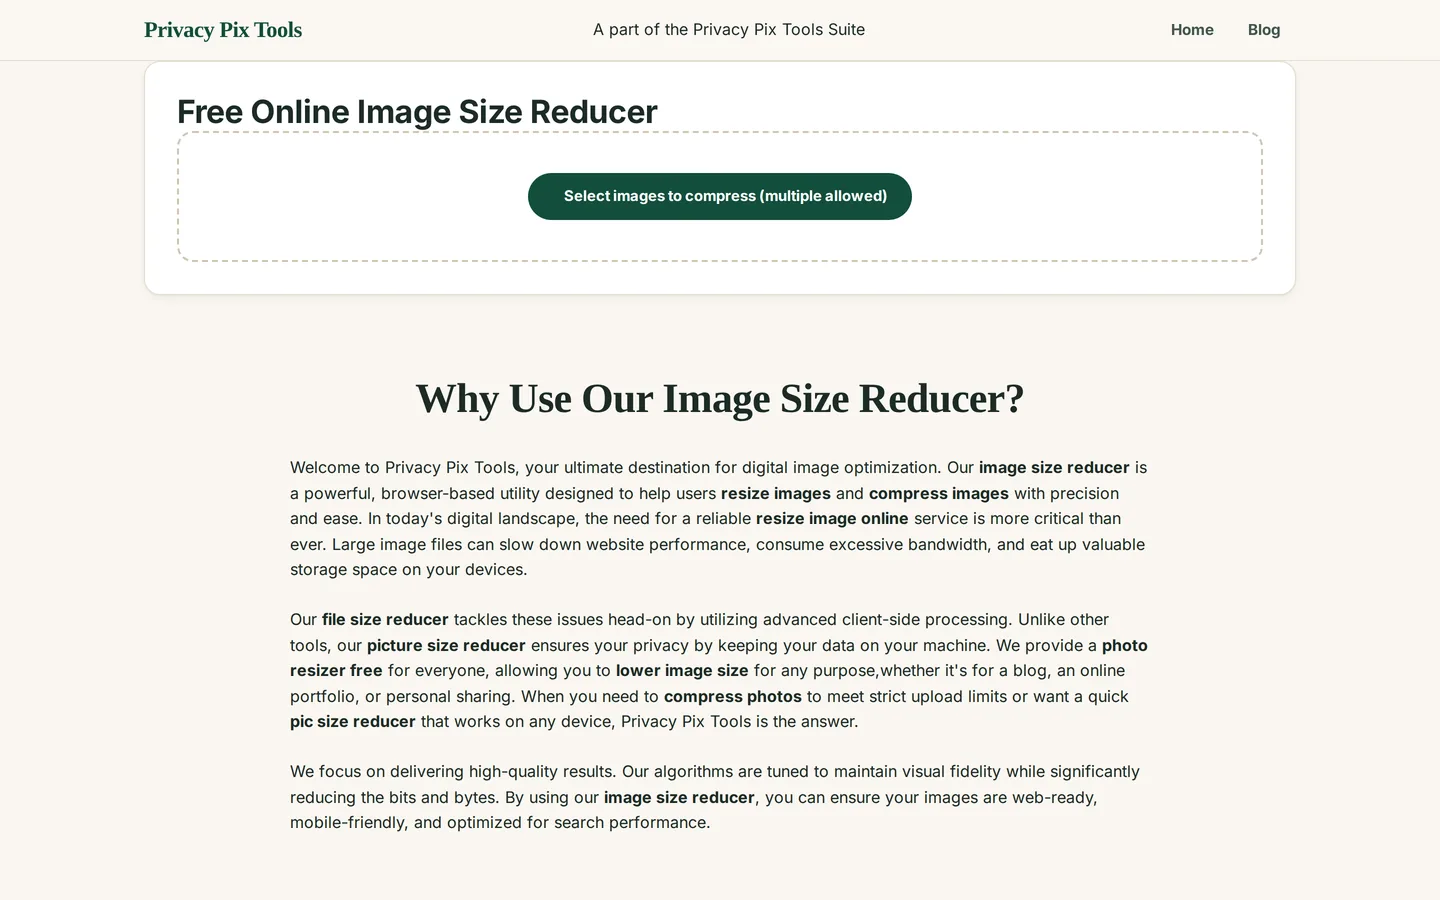
Go to the Free Online Image Size Reducer and click "Select images to compress (multiple allowed)" - or drag files onto the page. You can add one photo or dozens; multiple files automatically switch the tool into batch mode.
Step 2Set the Quality slider
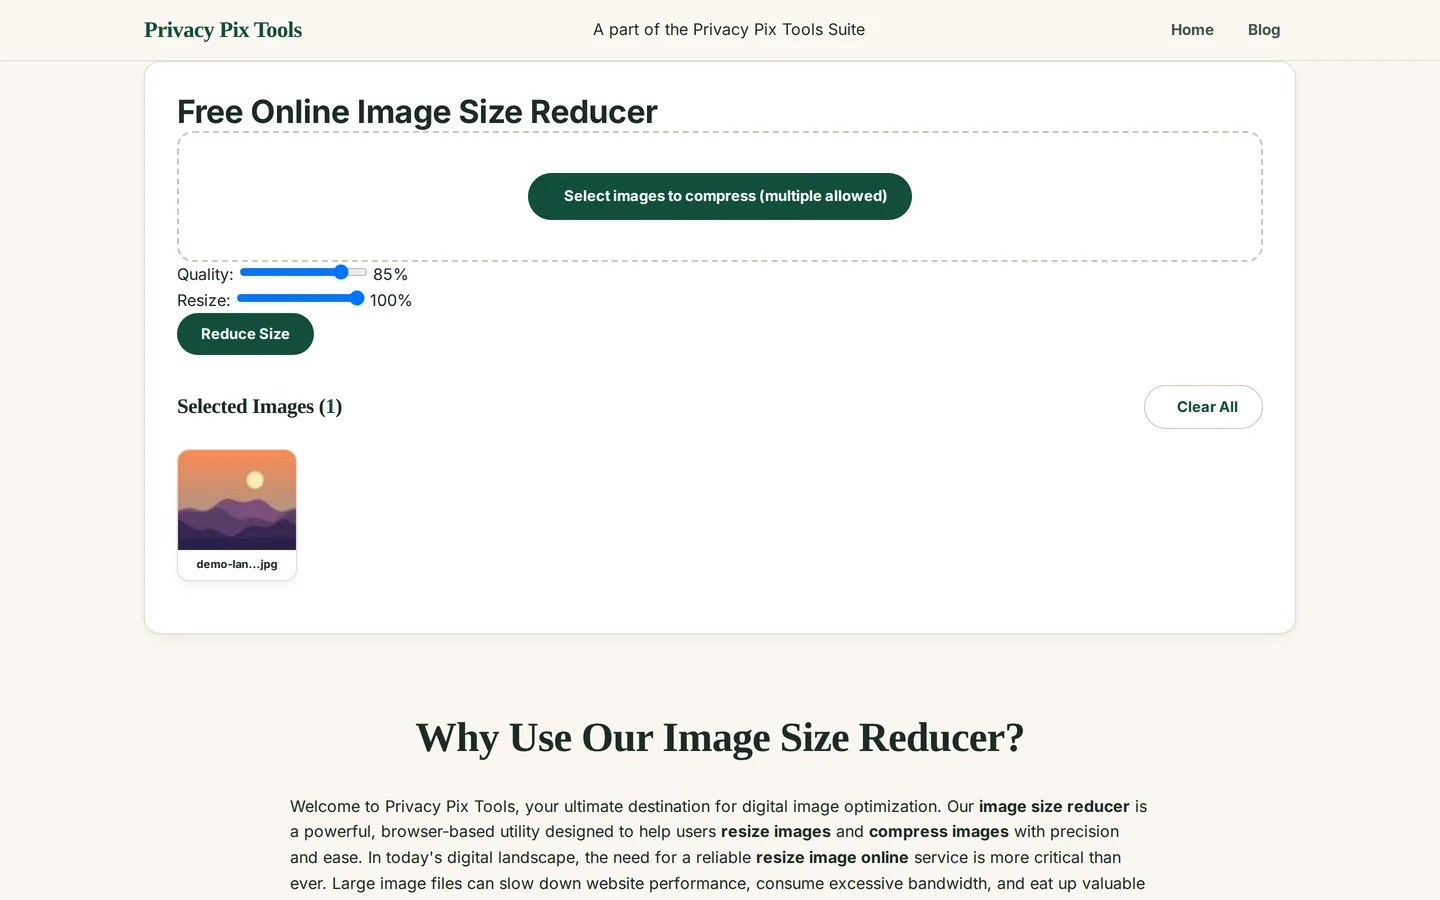
The Quality slider (default 85%) controls JPEG/WebP compression strength. 85% is visually lossless for most photos; 70-80% is great for web thumbnails and chat; below 60% you will start to see artifacts in gradients like skies and skin. Leave it at 85% if you are unsure.
Step 3Optionally scale the image down with Resize
The Resize slider scales the pixel dimensions. This is where the biggest savings live: a 4000×3000 phone photo displayed in a 800-pixel blog column can be resized to 25-50% with zero visible difference on the page. File size drops roughly with the square of the scale - half the width means about a quarter of the bytes.
Rule of thumb: match the longest side to about twice the display size (for retina screens). For a full-width website hero, 1600-2000 px is plenty; for email attachments, 1200 px.
Step 4Click “Reduce Size” and download
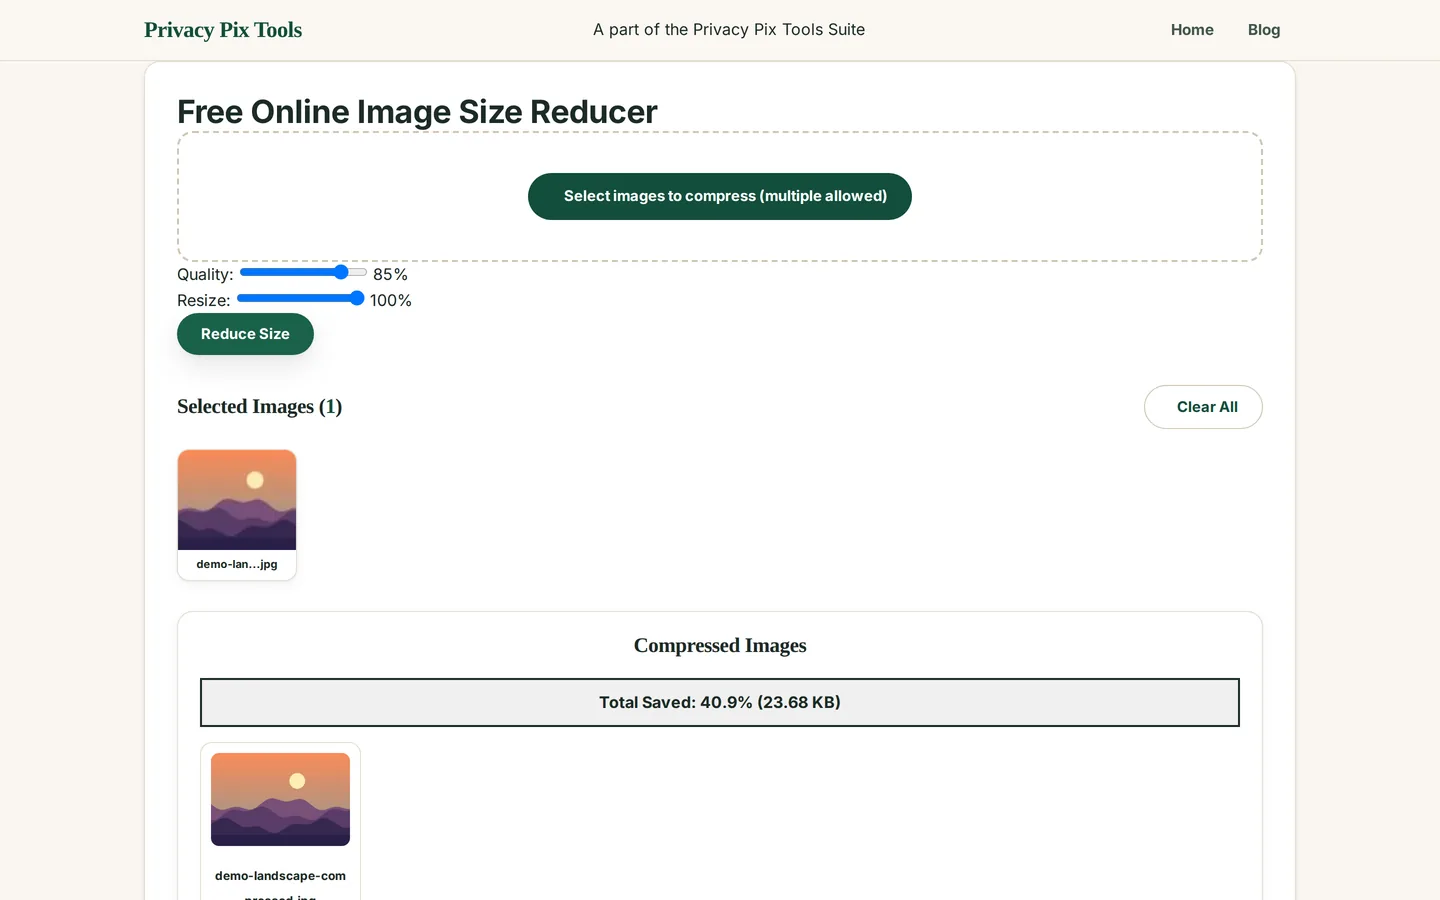
Hit the green Reduce Size button. The tool shows the original size, the new size, and the percentage saved - in our example a single landscape photo dropped by 40.9% with no visible change. Click Download for one file, or Download All to get a ZIP when compressing in batch.
Shrink your images now
Open the Image CompressorPro Tips for Better Results
- Resize before you fiddle with quality: Cutting dimensions saves far more than lowering quality. A 50% resize plus 85% quality almost always beats a full-size image at 60% quality - in both bytes and looks.
- Know your format: JPG and WebP respond to the quality slider; PNG is lossless and shrinks mainly through resizing. Screenshots with flat colors are often smaller as PNG; photos are smaller as JPG/WebP.
- Convert to WebP for the web: WebP is typically 25-35% smaller than JPG at the same visual quality. Use the Format Converter to switch, then compress.
- Batch a whole shoot: Select all files at once - the batch mode processes them with the same settings and bundles the output into a single ZIP, with a running total of megabytes saved.
- Keep an original: Compression is one-way. Keep your master file and compress copies for each destination (web, email, chat).
Why This Stays 100% Private
Every other "free image compressor" you find in search results works the same way: your file goes up to their server, gets processed, and comes back down. For holiday photos that is merely wasteful; for contracts, medical scans, or unreleased product shots it is a real exposure. This compressor uses the browser's own Canvas API, so the file never crosses the network - which also means there is no file-size cap and no queue.
Unlike most "free" web tools, Privacy Pix Tools has no accounts, no file-size tricks, no watermarks, and no server-side processing. You can even load the page, disconnect from the internet, and the tool keeps working - proof that your files never leave your device.
Common Use Cases
- Faster websites: Image weight dominates page load time. Compressing hero images and thumbnails directly improves Core Web Vitals and SEO.
- Email and form limits: Squeeze scans and photos under the 10 MB / 25 MB caps of email providers and government upload portals.
- Selling online: Marketplace listings load faster and rank better with optimized photos - compress a whole product shoot as one batch ZIP.
- Freeing phone storage: Shrink exported photo dumps before archiving them to cloud storage or a USB stick.
Frequently Asked Questions
What quality setting should I use?
85% is visually lossless for most photographs. Use 70-80% when small size matters more than pixel-perfect fidelity, and avoid going under 60% unless the image is tiny on screen.
Why did my PNG barely shrink?
PNG is a lossless format, so the quality slider does not apply. Reduce the dimensions with the Resize slider, or convert photographic PNGs to JPG or WebP first - the savings are dramatic.
Is there a file size or count limit?
No hard limit. Because compression runs on your machine, you are limited only by your device's memory. Hundreds of images in one batch work fine on a normal laptop.
Does compressing repeatedly destroy the image?
Re-saving a JPG at high quality a couple of times is harmless, but generational loss accumulates. Always compress from the original rather than compressing a compressed file again.
Can I compress images on my phone?
Yes - the tool is responsive and works in mobile Safari and Chrome. Select photos straight from your camera roll.
How is this different from the Format Converter?
The Size Reducer keeps the format and optimizes size via quality and dimensions. The Format Converter changes the file type (e.g., PNG to WebP). For maximum savings, convert to WebP and then compress.
Related Tools & Guides
- Image Format Converter - switch to WebP or JPG before compressing for bigger savings.
- How to Resize Images for Social Media - exact pixel sizes for every platform.
- How to Compress PDF Files - the same no-upload treatment for documents.
- Bulk Image Processing - convert, watermark, and compress hundreds of photos at once.