How to Blur Faces, Text & Sensitive Info in Photos - Without Uploading Them
To blur faces or text in a photo, open the Privacy Blur tool, upload the image, choose Classic Blur, Pixelate, or Solid Block, and drag rectangles over anything sensitive - each region is obscured instantly. Download the redacted copy when done. The photo never leaves your browser, which is the whole point of a privacy tool.
Screenshots with account numbers, photos with bystanders' faces, documents with names and addresses, car listings with readable license plates - most images need a little redaction before they are safe to share. Doing that redaction on a website that uploads your file first defeats the purpose entirely.
This guide covers the manual redaction workflow - you draw the regions, so nothing is missed - plus when to switch to the AI Auto-Redact tool that detects faces automatically, and which obscuring mode actually resists reversal.
In this guide
What You Need Before You Start
The image to redact (JPG, PNG, or WebP). Think through what counts as sensitive before you start: faces, names, usernames, addresses, phone numbers, license plates, barcodes/QR codes on tickets, reflections in mirrors and glasses, and anything in the background you did not mean to capture.
Privacy note: Blurring runs on a canvas in your tab. A redaction tool that uploaded your unredacted original would be a contradiction - this one never does.
How to Redact a Photo in 4 Steps
Step 1Upload the photo or screenshot
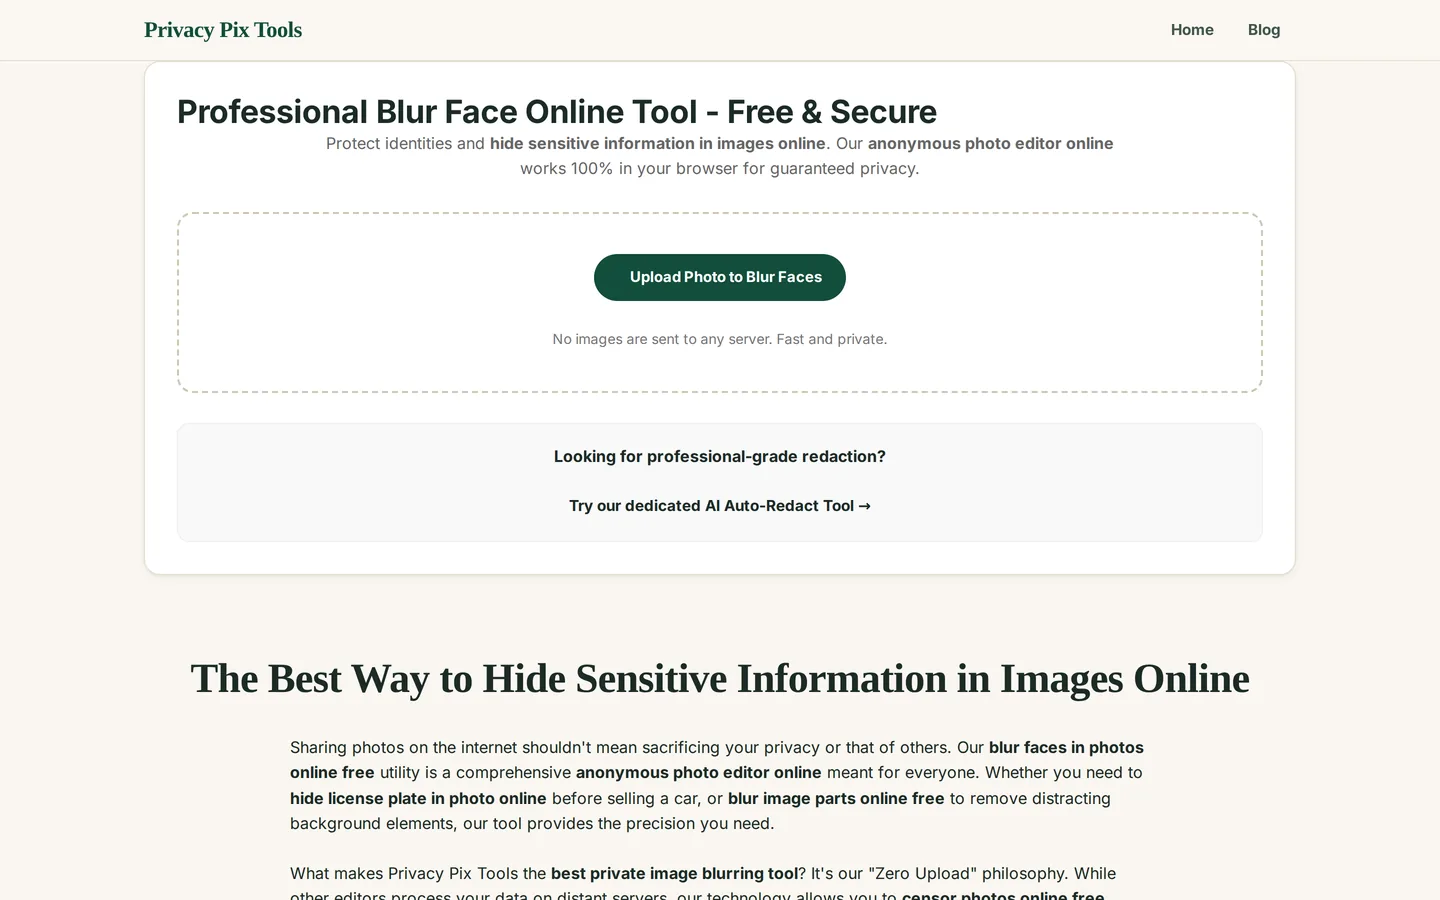
Open the Privacy Blur & Pixelate tool and click Upload Photo to Blur Faces (any image works - screenshots included). The editor loads with your image on a zoomable canvas.
Step 2Pick your redaction mode
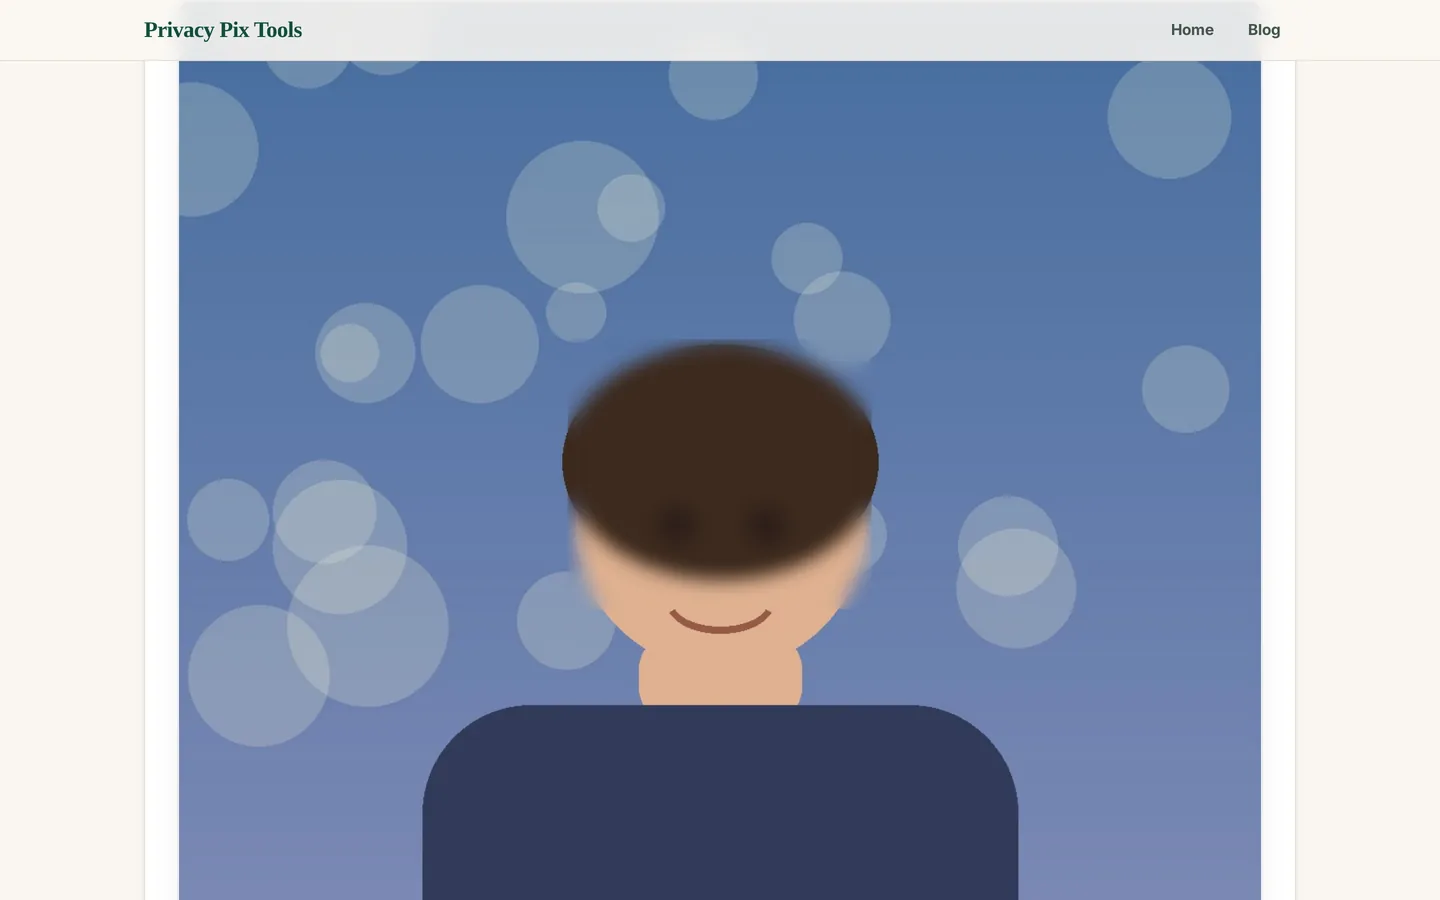
Choose between three modes in the toolbar: Classic Blur (soft gaussian smear - natural-looking for faces), Pixelate (chunky mosaic - the universal "this is censored" signal), and Solid Block (opaque rectangle - maximum security for text). Adjust the intensity slider to control strength.
Step 3Drag rectangles over sensitive areas
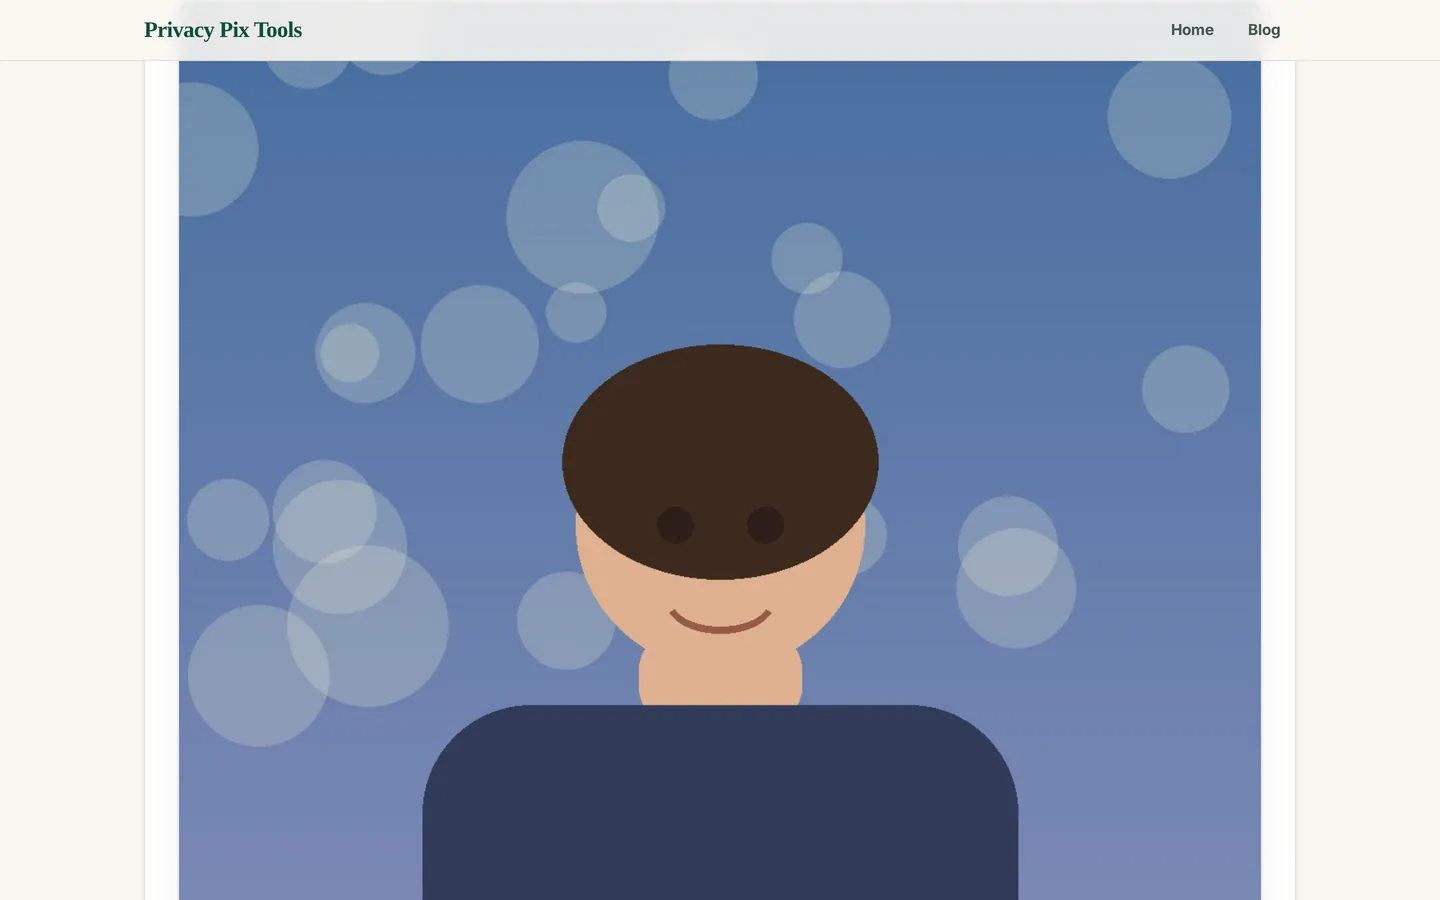
Click and drag directly on the image to draw a region - the effect applies the moment you release. Draw as many regions as you need: each face, each line of text, each plate. Made a mistake? Hit Undo to step back.
Step 4Download the redacted image
Click Download to save the flattened result. The redaction is baked into the pixels of the new file - there are no editable layers a recipient could peel back, unlike PDF annotation "redactions" that famously fail.
Redact a photo right now
Open the Privacy Blur ToolPro Tips for Better Results
- For text, use Solid Block or heavy pixelation: Light gaussian blur on text can sometimes be partially reversed by deblurring tools. Solid blocks are irreversible by construction; heavy pixelation (large cells) is a strong second.
- Cover more than the exact letters: Extend regions past the edges of names and numbers - context like line length and word spacing can leak information.
- Zoom in for a final pass: Check reflections (mirrors, glasses, windows), papers on desks, monitor edges, and open browser tabs in screenshots. Background leaks are the classic redaction failure.
- Let AI catch the faces first: Crowd shot? Run the AI Auto-Redact tool to detect and blur every face automatically, then open the result here for manual touch-ups.
- Strip the metadata too: Visual redaction does not remove EXIF GPS data. Run the redacted file through the Metadata Remover before sharing - the complete two-step hygiene.
Why This Stays 100% Private
Redaction is the clearest case for local processing on this entire site: the file you are redacting is, by definition, the file you least want on someone else's server - in its unredacted form, no less. The Privacy Blur tool draws, blurs, and re-encodes entirely within your browser's canvas. Nothing is transmitted at any stage, and closing the tab destroys the working copy.
Unlike most "free" web tools, Privacy Pix Tools has no accounts, no file-size tricks, no watermarks, and no server-side processing. You can even load the page, disconnect from the internet, and the tool keeps working - proof that your files never leave your device.
Common Use Cases
- Support screenshots: Blur account numbers, emails, and tokens before sending bug reports or posting to public issue trackers.
- Marketplace photos: Pixelate license plates and house numbers when selling cars and furniture online.
- Social sharing: Blur bystanders and children's faces in event photos before posting publicly.
- Journalism & research: Protect sources and subjects with irreversible solid-block redaction.
Frequently Asked Questions
Can blurred text be unblurred?
Weak gaussian blur on high-contrast text has been partially reversed in research settings. For text, use Solid Block mode (mathematically irreversible) or Pixelate with large cells. For faces, any mode at reasonable intensity is effective.
Which mode should I use for faces vs text?
Faces: Classic Blur or Pixelate both work well and look natural. Text and numbers: Solid Block for maximum security, or heavy Pixelate if you want it visually obvious that something was redacted.
Is the original recoverable from the downloaded file?
No. The download is a flat image with the redaction baked into its pixels. There are no layers, no embedded original, no undo data in the file.
Can it blur faces automatically?
This tool is manual by design - you decide exactly what gets redacted. For automatic face detection, use the companion AI Auto-Redact tool, which finds faces locally and blurs them in one click.
Does blurring remove the photo's GPS metadata?
No - EXIF metadata is separate from pixels. Run the result through the Metadata Remover as a second step; together they cover both the visible and invisible layers.
Does this work on screenshots and PDFs?
Screenshots: yes, any raster image works. PDFs: convert pages to images first with PDF to Image, redact them, then rebuild with Image to PDF.
Related Tools & Guides
- AI Auto-Redact - automatic face detection and blurring, also fully local.
- How to Remove EXIF Data - scrub the invisible metadata layer too.
- Risks of Sharing Unredacted Images - what actually goes wrong when redaction is skipped.
- Tools to Blur Sensitive Data - overview of every blurring tool on the site.