How to Edit Photos Online Without Uploading Them Anywhere
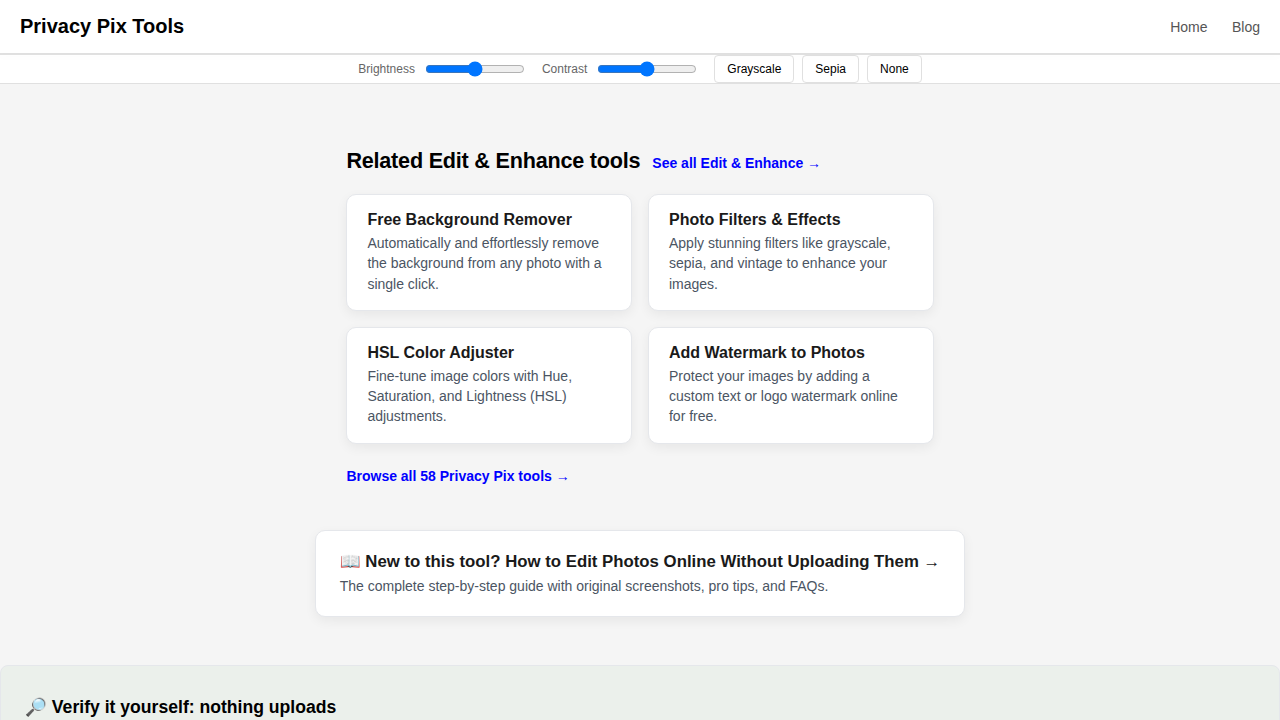
To edit photos online privately, open the Photo Editor, click Open Image (or drag & drop), use the toolbar - Filter, Resize, Crop, Transform, Draw, Text, Shapes, Stickers, Frame, Corners, BG - then pick an export format and click Save Image. Every edit is computed in your browser; the photo is never uploaded.
Most "free online photo editors" are thin clients for someone else's server: your image goes up, their processing comes back, and their privacy policy decides the rest. This editor takes the opposite approach - a full editing suite built on canvas technology that runs where your photo already is: your own device.
This guide tours the complete toolbar, shows the layer system, and walks through a real edit from import to export. For the story behind the editor, see the deep-dive article.
In this guide
- What you need
- Step 1: Open your image
- Step 2: Adjust light and color with Filter
- Step 3: Fix geometry: Resize, Crop, Transform
- Step 4: Add annotations: Draw, Text, Shapes
- Step 5: Finishing touches: Stickers, Frame, Corners, BG
- Step 6: Manage layers, then export
- Pro tips for better results
- Why this stays 100% private
- Common use cases
- Frequently asked questions
- Related tools & guides
What You Need Before You Start
A JPG, PNG, or WebP photo and a browser. The editor is mouse- and touch-friendly, so it works on tablets too. All features are free and none require an account.
Privacy note: The editor manipulates pixels on a local canvas with a layer system in browser memory. Sensitive photos - IDs, documents, family shots - never leave your machine.
A Complete Tour: Editing a Photo Step by Step
Step 1Open your image
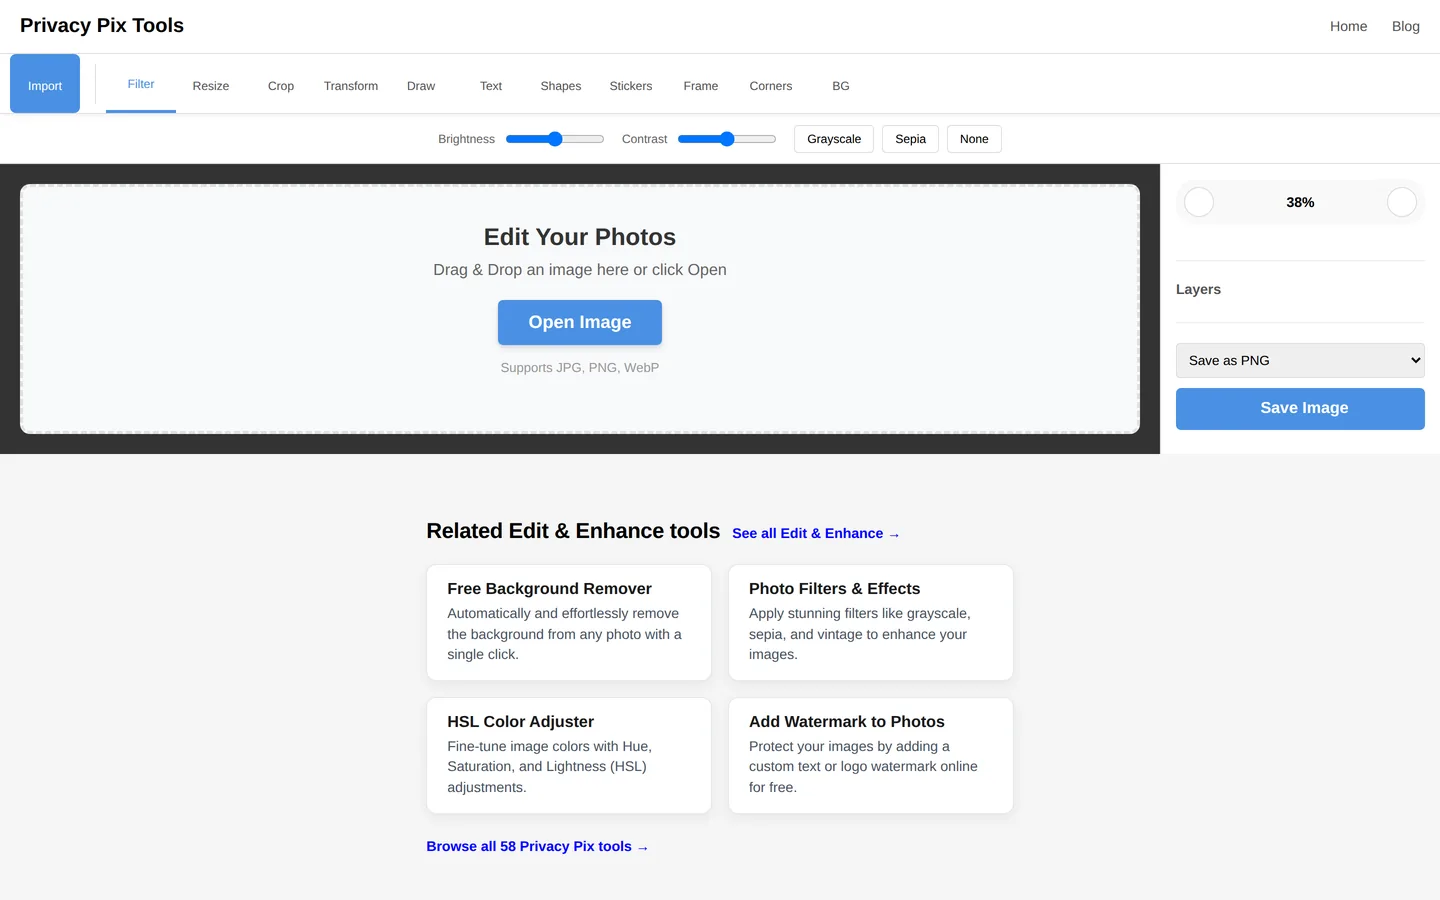
Launch the Photo Editor. The welcome screen offers Open Image - click it or simply drag a file anywhere onto the editor. The photo loads onto the canvas with the toolbar across the top and layers, zoom, and export controls in the right sidebar.
Step 2Adjust light and color with Filter
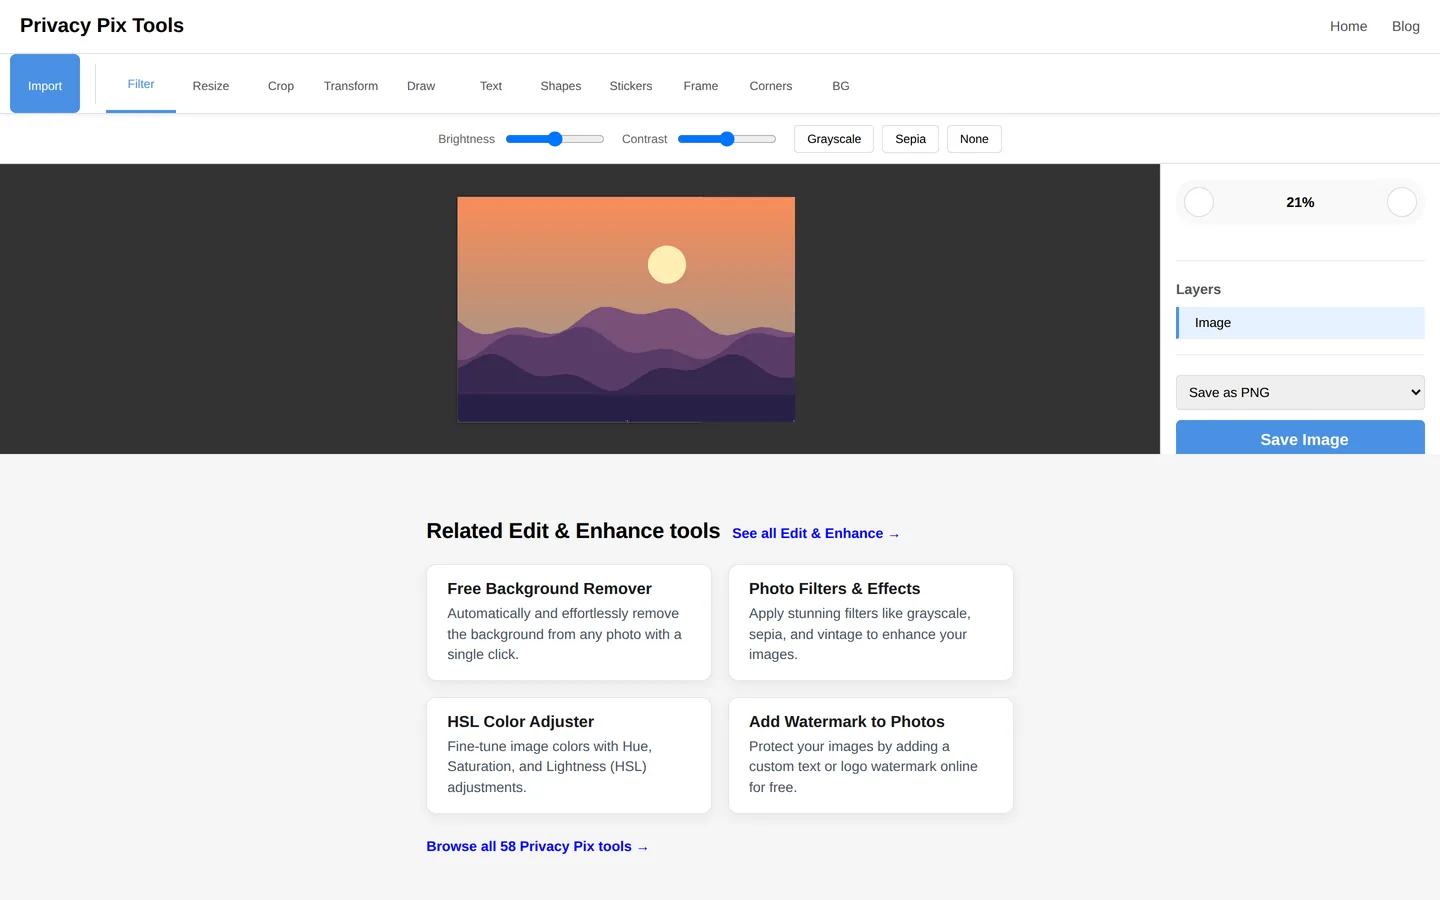
The Filter tab (active by default) carries the essentials: Brightness and Contrast sliders for exposure correction, plus one-click Grayscale and Sepia looks (and None to reset). Small moves work best - ±15 on brightness fixes most underexposed shots.
Step 3Fix geometry: Resize, Crop, Transform
Resize scales the image to target dimensions; Crop cuts composition with a draggable box; Transform rotates in 90° steps and flips horizontally or vertically. Do geometry early - cropping after you've placed text means redoing the text.
Step 4Add annotations: Draw, Text, Shapes
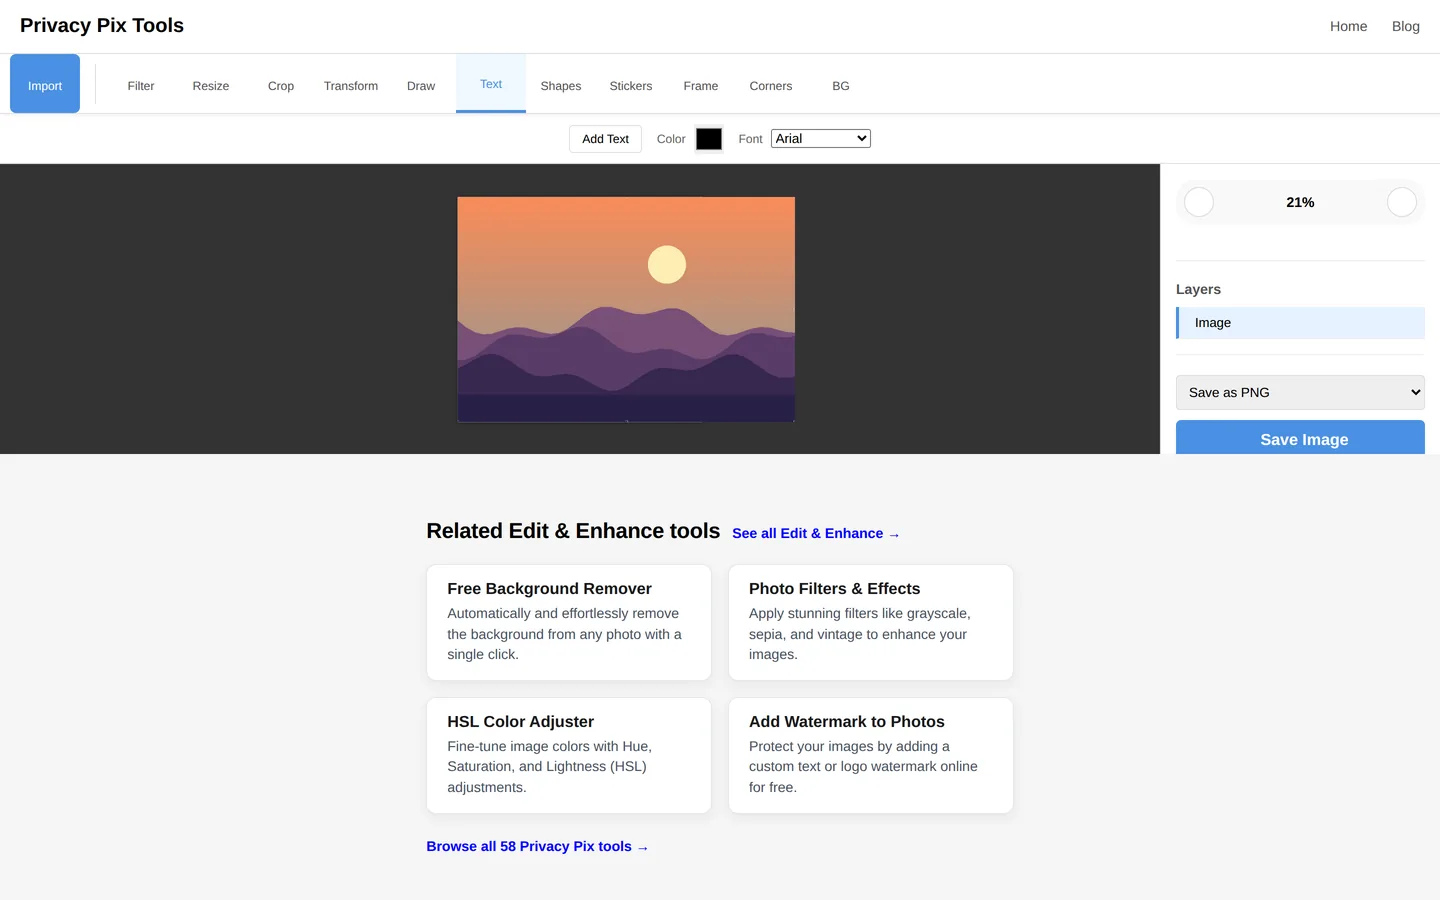
The Draw tool freehand-sketches with adjustable color and width - ideal for circling details. Text places styled captions (the Add Text panel appears in the toolbar). Shapes stamps rectangles, circles, triangles, and arrows for callouts. Everything lands on its own layer.
Step 5Finishing touches: Stickers, Frame, Corners, BG
Stickers adds emoji-style graphics; Frame draws a border in any color; Corners rounds the image edges (drag the radius slider); BG sets a background color behind transparent regions. Each is one panel, one setting, instant preview.
Step 6Manage layers, then export
The right sidebar lists every element as a layer - select, reorder, or delete them independently, and use undo/redo freely. When done, choose Save as PNG, JPG, or WebP in the export dropdown and click Save Image. The file downloads directly - no account, no watermark.
Start editing privately
Open the Photo EditorPro Tips for Better Results
- Order of operations: Geometry first (crop, rotate, resize), then color (brightness, contrast, filters), then annotations (text, shapes), then export. This avoids redoing work.
- Layers are your safety net: Text, shapes, and drawings stay independent until export - click any layer in the sidebar to fix a typo or nudge a position without starting over.
- Export format cheat sheet: PNG for graphics, screenshots, and anything with text or transparency; JPG for photographs going to the web; WebP for the best of both when compatibility allows.
- Zoom for precision: Use the sidebar zoom for pixel-accurate drawing and text placement, especially on high-resolution images.
- Specialized jobs, specialized tools: The editor is the generalist. For AI background removal, HSL color surgery, or batch watermarking, jump to the dedicated tools - same privacy, deeper controls.
Why This Stays 100% Private
An editor is where your most sensitive images go: the ID you need to crop, the document you need to annotate, the family photo you need to fix. Server-side editors receive all of it. This one is architecturally incapable of that - the canvas, the layer system, and the export encoder are all JavaScript running in your tab. Loading the page and switching to airplane mode changes nothing: every feature keeps working.
Unlike most "free" web tools, Privacy Pix Tools has no accounts, no file-size tricks, no watermarks, and no server-side processing. You can even load the page, disconnect from the internet, and the tool keeps working - proof that your files never leave your device.
Common Use Cases
- Quick fixes: Brightness, crop, and rotate on phone photos before sharing.
- Annotated screenshots: Arrows, circles, and text on UI captures for bug reports and tutorials.
- Social graphics: Text overlays and stickers for posts, without a design-app subscription.
- Document prep: Crop, straighten, and frame scans and receipts - locally, where documents belong.
Frequently Asked Questions
Is this photo editor really free?
Completely. Every tool - filters, layers, text, shapes, export in three formats - is free, with no premium tier, no account, and no watermark.
Are my photos uploaded while I edit?
No. The editor is client-side JavaScript operating on a local canvas. Your photo exists in browser memory on your device and nowhere else.
Can I edit RAW files?
No - the editor accepts JPG, PNG, and WebP. Export RAW files to JPG in your camera software first.
Does it work on phones and tablets?
Yes, the interface is responsive and touch-friendly. Complex multi-layer work is more comfortable on a bigger screen, but everything functions on mobile.
How do I remove a background here?
The editor's BG panel fills backgrounds behind transparent images. For AI-powered background removal from a normal photo, use the dedicated Background Remover, then continue editing the cut-out here.
Can I undo mistakes?
Yes - full undo/redo history plus per-layer editing. Delete a single text layer or step back through your whole session.
Related Tools & Guides
- How to Remove a Background - AI cut-outs to continue editing here.
- HSL Color Adjuster - surgical hue, saturation, and lightness control.
- Photo Filters & Effects - a bigger library of one-click looks.
- The Ultimate Photo Editor Guide - the full deep-dive article.